Example: Ambiant temperature measurement with a TMP36 sensor
Introducing the TMP36 sensor, a versatile analog device renowned for its linear temperature-to-voltage output. This guide offers a step-by-step approach on interfacing the sensor with an Arduino, processing its readings, and implementing logic based on the derived temperature.

The TMP36 sensor (and TMP35 and TMP37) provide a voltage output that is linearly proportional to the temperature in Celsius.
Hardware setup
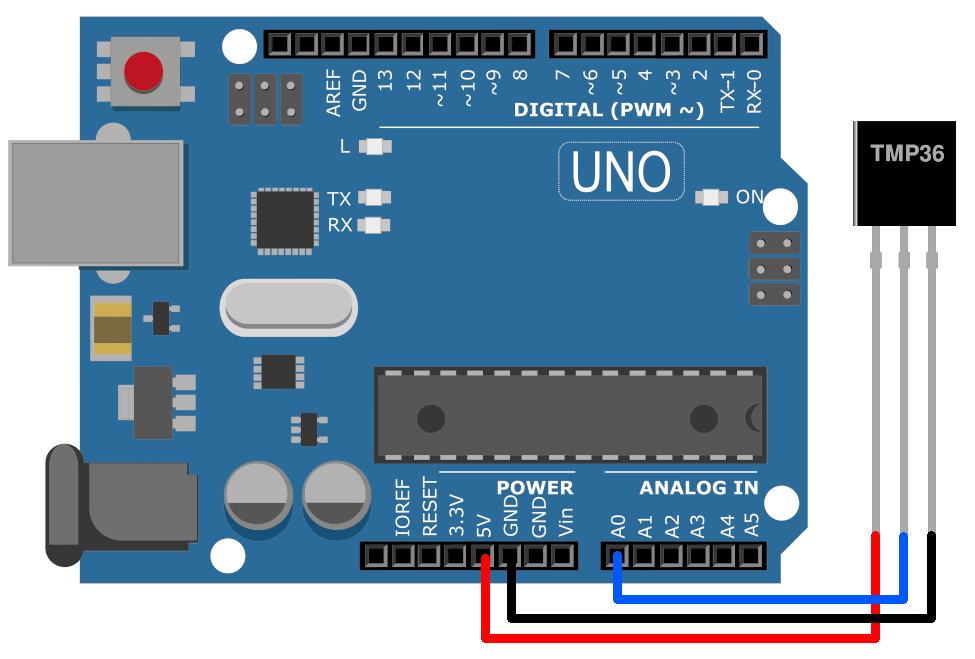
To wire the temperature sensor up to an Arduino, connect the VCC and GND appropriately, and the signal wire to an analog pin, in this example pin 0. In this picture, the flat part of the package is shown in front. Make sure what the pinout is of the sensor you are using, by checking the documentation that belongs to it.
Making the firmware
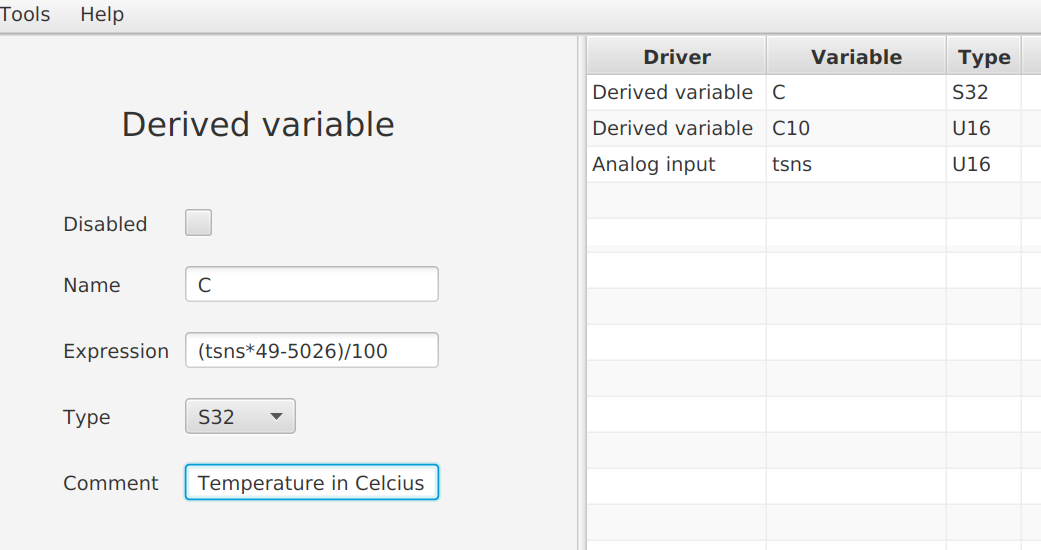
To illustrate the use of the concept of [[Variables|Derived variables]], we're calculating the temperature in degrees Celcius.
For more information on this calculation, see: Temperature sensors TMP35, TMP36 and TMP37.
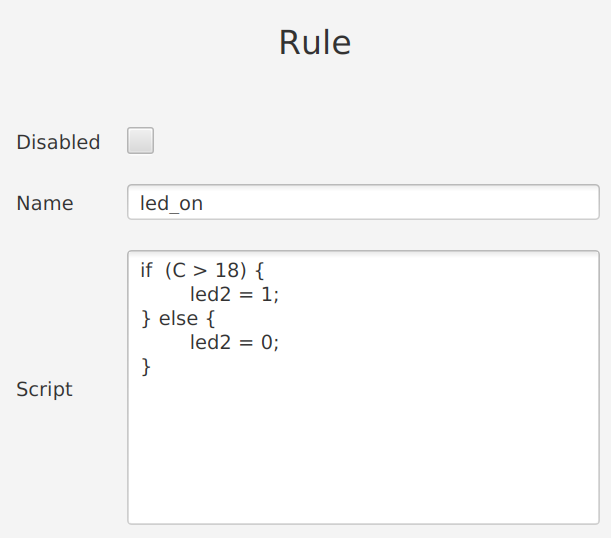
Next, a rule is used: when the temperature is higher than 18 C, the on-board LED is turned on. Surely you'll want to do something more useful, for example turning on the heating, the LED is just to illustrate the idea.
That's all there is to it: a sensor, calculating the temperature, and basic logic rule to switch the LED on or off depending on the temperature.
It becomes a lot more interesting once you start using Settings to change the temperature setting using a Arduino LCD Keypad Shield and Keyboard handler.